Ready to embark on a culinary adventure with delectable beef ribs? Look no further! We’re here to guide you through the process of cooking beef ribs in the oven with step-by-step instructions that even beginners can follow.
Say goodbye to boring dinners and get ready to treat yourself and your loved ones to an unforgettable, mouth-watering meal. With our unique and detailed explanation, you’ll be a connoisseur in no time!
Table of Contents
ToggleSelecting the Perfect Beef Ribs
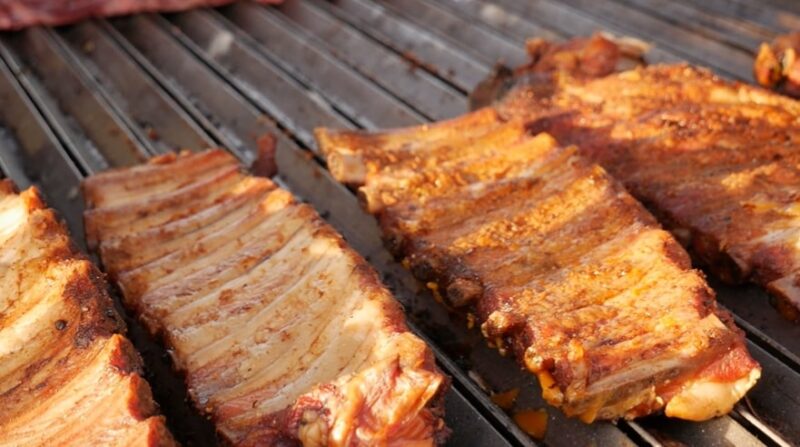
Your journey to beef ribs nirvana begins with choosing the perfect cut. This meat is available in two primary cuts: the meaty back ribs and the succulent short ribs.
- Back ribs: These are the more common cut of beef ribs, with a lighter meat-to-bone ratio. They come from the rib area and are what’s left after the ribeye steaks are removed. You’ll typically find them in a rack of six to eight ribs.
- Short ribs: Short ribs are cut from the lower part of the rib cage and boast a generous amount of marbling. They are generally available in two styles: English cut and flanken cut. English cut ribs are sliced parallel to the bone, while flanken cut ribs are sliced across the bone, leaving a small piece of bone in each slice.
When selecting beef ribs, look for these key attributes:
- Freshness: Ensure the beef has a deep red color, not brown or gray.
- Marbling: Rich marbling is essential for tender, juicy beef. A good amount of fat marbling will melt as the ribs cook, resulting in a luscious, flavorful dish.
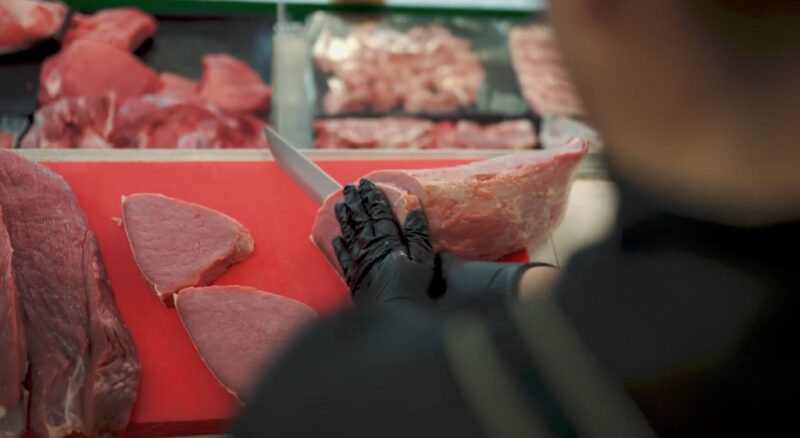
- Thickness: Aim for beef slices that are at least 1.5 to 2 inches thick for an even and satisfying cook.
The Preparation Process
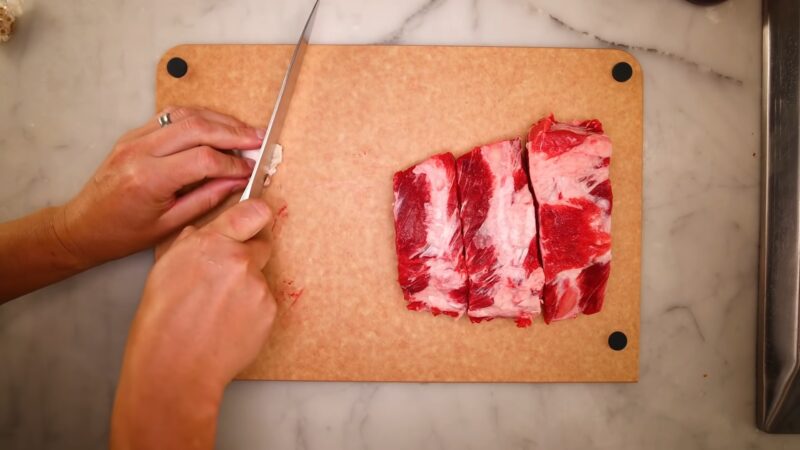
Now that you’ve got your beef ribs, it’s time to get them ready for the oven. Here’s how:
1. Trimming
Begin by trimming excess fat and removing the membrane (silverskin) from the back of the ribs. Use a sharp knife to cut under the membrane at one end of the rack, then use a paper towel to grip the membrane and pull it away from the ribs. This step is crucial for achieving tenderness.
2. Seasoning
The secret to flavorful beef ribs is a tantalizing dry rub. In a small bowl, mix your preferred dry rub ingredients, such as brown sugar, paprika, garlic powder, onion powder, salt, pepper, and cayenne pepper. Be creative and experiment with different spices to create your signature rub.
Apply the rub generously on both sides of the beef ribs, pressing it into the meat. For maximum flavor infusion, let the seasoned meat rest in the refrigerator for at least 2 hours or, even better, overnight.
Setting Up Your Oven
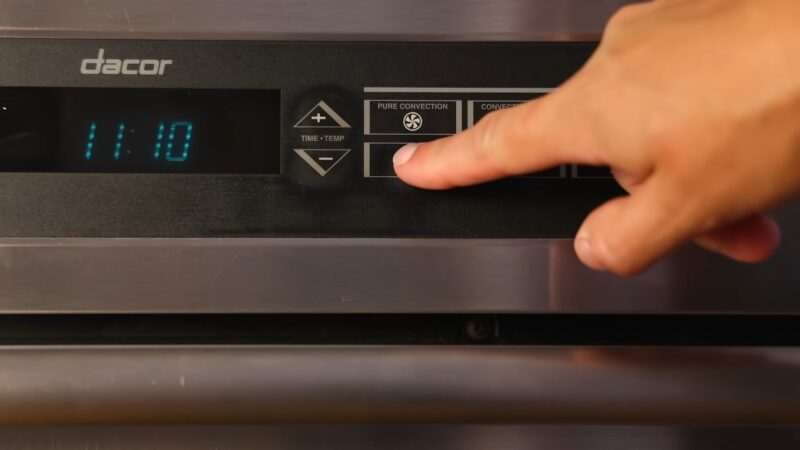
Preheat your oven to 275°F (135°C) for low and slow cooking, which is the key to tender, juicy beef. Position one of the oven racks in the middle of the oven and place a drip tray filled with water on the lowest rack. The water in the drip tray will help maintain moisture and prevent the meat from drying out during the cooking process.
Cooking the Beef Ribs
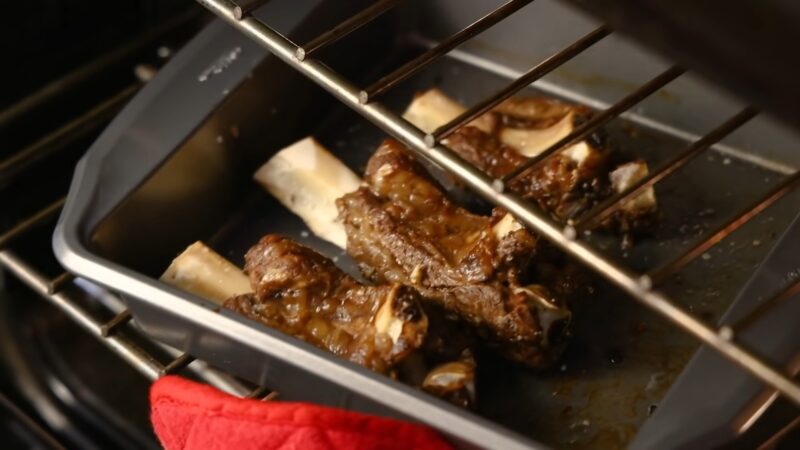
Now comes the magic! Follow these steps to achieve perfect results:
1. Wrapping
Before placing the beef ribs in the oven, wrap them in heavy-duty aluminum foil. This will seal in the moisture and help tenderize the meat. Place the meat bone-side down on a large piece of foil and fold the foil around it, creating a snug but not tight packet. Ensure the foil seals in the juices by crimping the edges together.
2. Baking
Place the foil-wrapped meat on the middle oven rack above the drip tray filled with water. Bake for 2.5 to 3 hours for back ribs, or 3 to 4 hours for short ribs. Remember, low and slow is the way to go for tender, mouthwatering slices.
3. Checking for Doneness
To determine if the meat is ready, carefully open the foil packet and insert a fork or a meat thermometer into the thickest part of the slice. The beef ribs should be fork-tender, and the internal temperature should read between 190°F to 203°F (88°C to 95°C).
If the meat is not yet tender, reseal the foil packet and continue cooking, checking for doneness every 30 minutes.
Rest and Sauce
After your beef ribs have reached the desired tenderness, remove them from the oven and let them rest, still wrapped in foil, for about 20 minutes. This allows the juices to redistribute, ensuring every bite is tender and flavorful.
While the beef ribs are resting, prepare a delicious barbecue sauce to elevate your dish to new heights. In a saucepan, combine your favorite store-bought or homemade barbecue sauce with a touch of honey or brown sugar for a sweet and tangy glaze. Simmer the sauce over low heat for about 10 minutes to meld the flavors.
Finishing Touches
To achieve a caramelized, finger-licking exterior on your meat, follow these final steps:
- Unwrapping: Carefully remove the beef ribs from the foil, reserving any accumulated juices in a bowl.
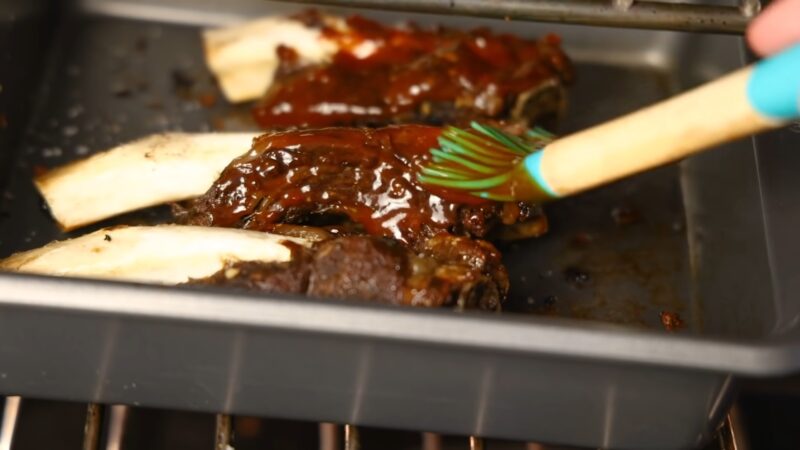
- Glazing: Set your oven to broil. Place the meat on a foil-lined baking sheet and generously brush them with the prepared barbecue sauce. Be sure to coat both sides of the ribs evenly.
- Broiling: Place the sauced beef ribs back in the oven, about 6 inches below the broiler. Broil for 3 to 5 minutes per side, watching closely to prevent burning. The barbecue sauce should caramelize and bubble, creating a beautiful, glossy finish.
Plating and Serving
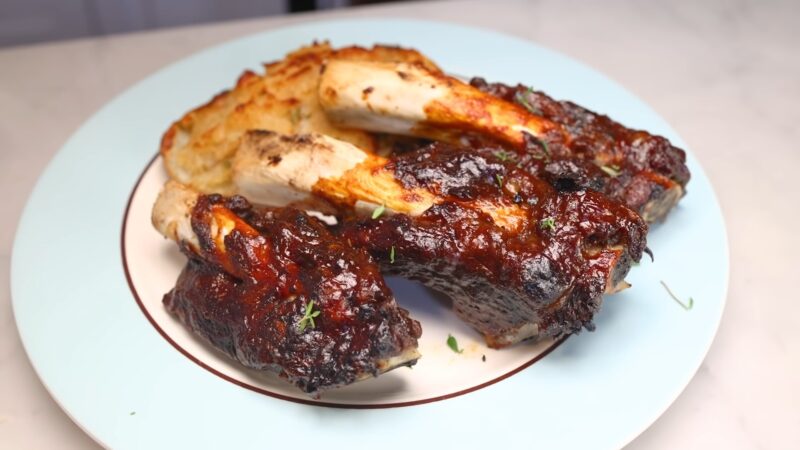
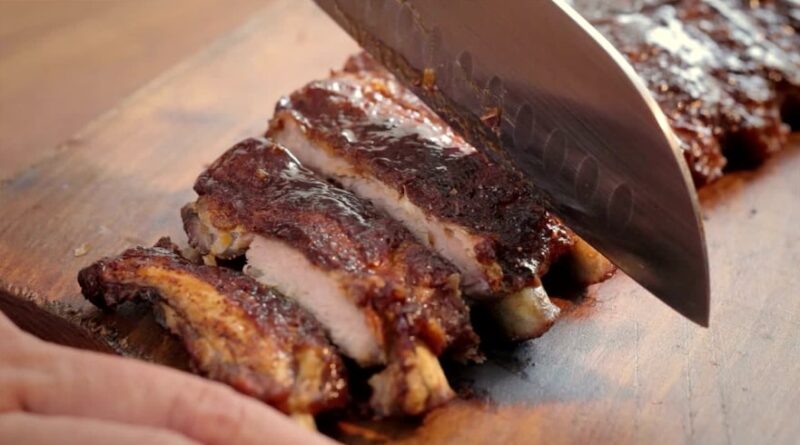
Using a sharp knife, carefully slice the beef ribs into individual portions. Arrange the meat on a serving platter and drizzle any reserved juices over the top. Serve with your favorite side dishes, such as creamy coleslaw, baked beans, or cornbread, and watch as your guests marvel at the tender, succulent beef ribs you’ve prepared.
Final Words
Congratulations, you’ve now mastered the art of cooking beef ribs in the oven! With this unique, detailed guide, you’re well-equipped to delight your family and friends with an impressive, mouthwatering meal. So go ahead, embrace your inner chef, and explore the limitless possibilities of beef ribs – the ultimate comfort food.
Related Posts:
- Pork Ribs VS. Beef Ribs? Which One is Your Pick?
- How to Clean a Flat Top Grill - Step-By-Step Guide
- How to Connect a Gas Grill to a House Propane Line?…
- How To Cook Brats In The Oven: A Quick and Tasty Oven Method
- How To Cook Swai Fish: The Ultimate Recipe Guide
- 11 Best Wood For Smoking Ribs - Savor the Flavor

